Still speed-coding shorts for youtube these last few months… - move your mouse over the codepen below - click and hold to zoom out ![]()
ActionSnippet is on Twitter-
Pages
-
Recent Posts
- Blobby WebGL
- Recent Shorts
- Updates Shorts and Rbn… snippet.zone zapp.codes etc…
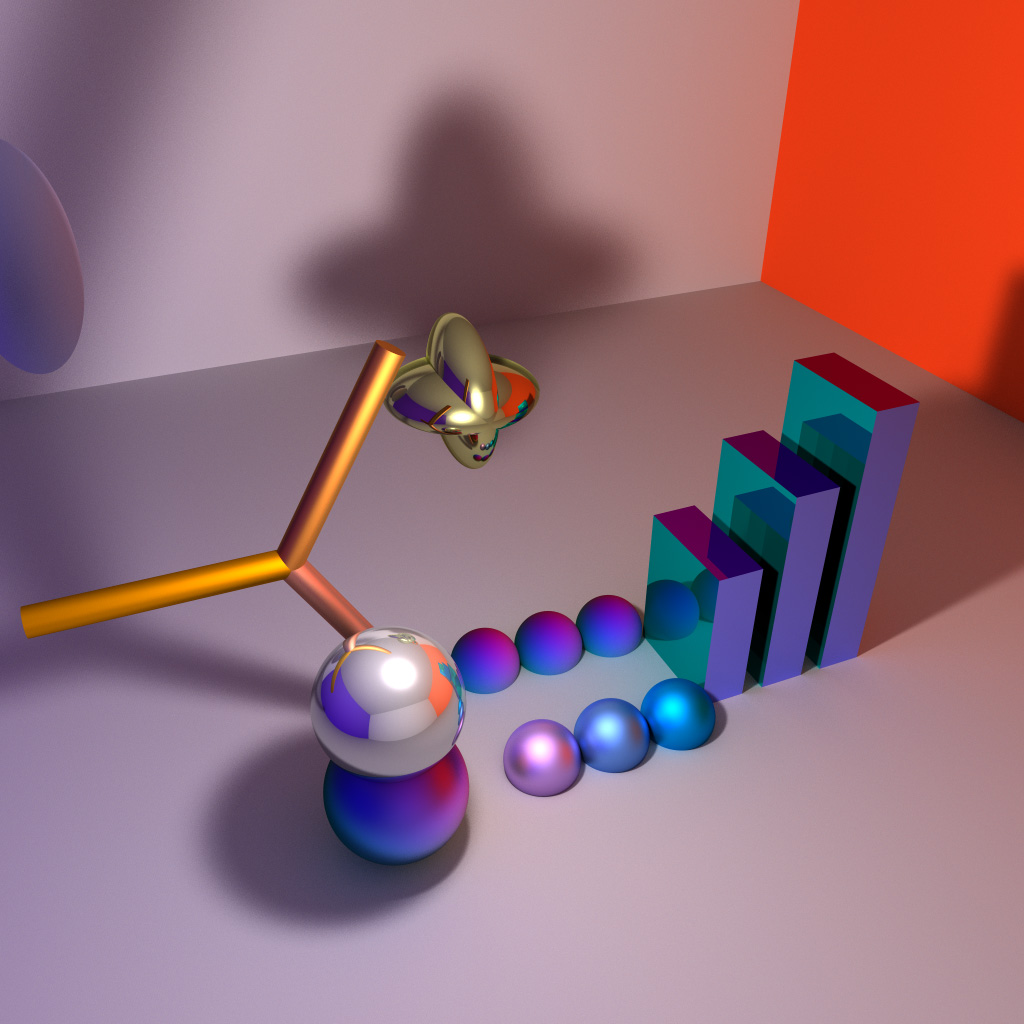
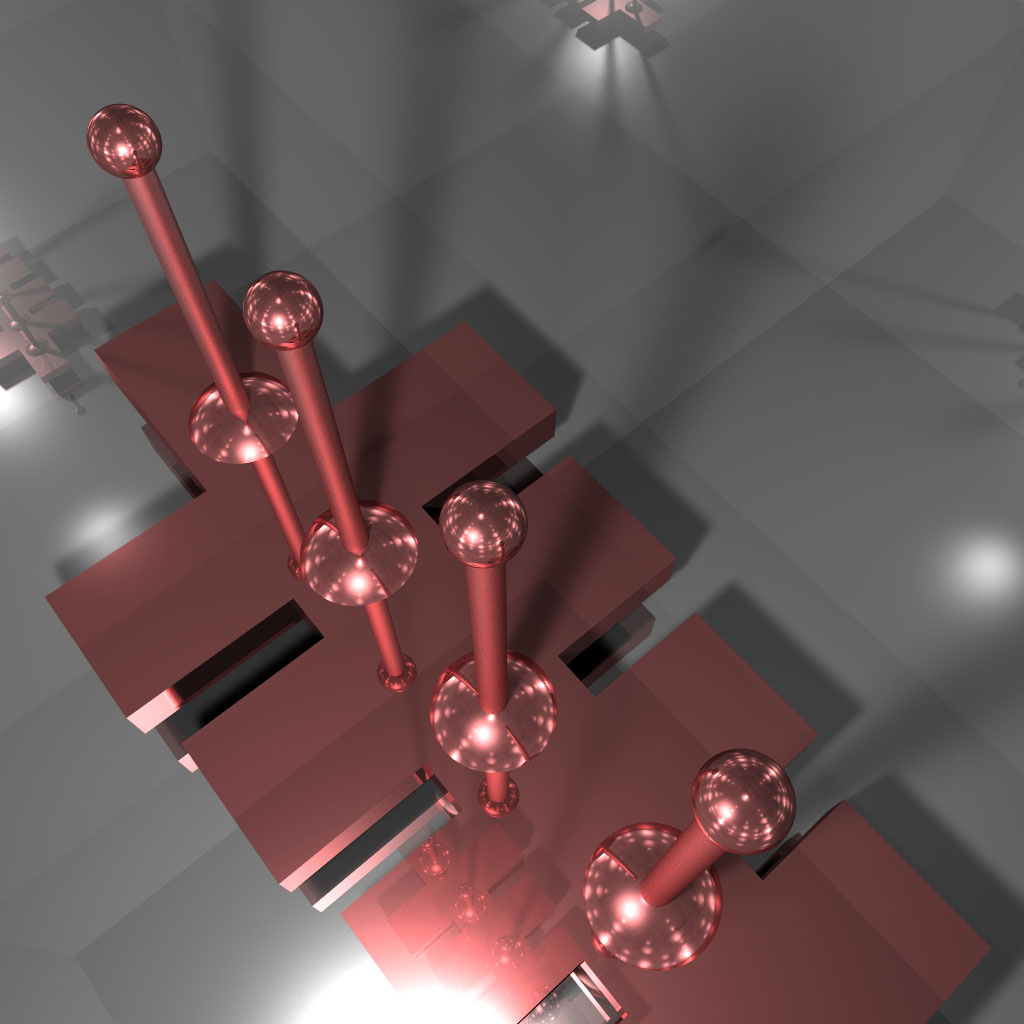
- Pathtracer Research
- Proxy - (object always defined)
- es6 concat trick
- Zeta Pictograms
- Dictionary with ES6 Symbol
- Easy i-ching Symbols
- OVM Pseudo-Algebra and Surreal Numbers
- QuickShader Micro-Lib
- JavaScript Smooth Quadratic Bezier
- CSS Fake Lighting With Gradients and Shadows
- Closest Point on a Line
- SVG to Canvas (good trick)
-
Categories
- 3D
- Announcements
- arrays
- associative arrays
- bezier
- binary
- BitmapData
- Box2D
- color
- Data Structures
- Dictionary
- display list
- DisplayObject
- dynamic
- es6
- Events
- external data
- functions
- glsl
- Graphics
- graphics algorithms
- html5
- instantiation
- javascript
- keys
- links
- Loader
- Math
- matrix
- misc
- motion
- MovieClip
- Number
- Object
- one-liners
- OOP
- Operators
- pixel manipulation
- projects
- properties
- QuickBox2D
- Quiz
- random
- return values
- setPixel
- sortOn
- string manipulation
- strings
- svg
- TextField
- timeline
- UI
- Uncategorized
- variables
- Vector
- Video
- webgl
- XML
-
Archives
- November 2024
- July 2024
- June 2024
- December 2018
- October 2018
- August 2018
- July 2018
- July 2012
- June 2012
- August 2011
- January 2011
- July 2010
- June 2010
- May 2010
- April 2010
- March 2010
- February 2010
- January 2010
- December 2009
- November 2009
- October 2009
- September 2009
- August 2009
- July 2009
- June 2009
- May 2009
- April 2009
- March 2009
- February 2009
- January 2009
- December 2008
- November 2008
- October 2008
- 0