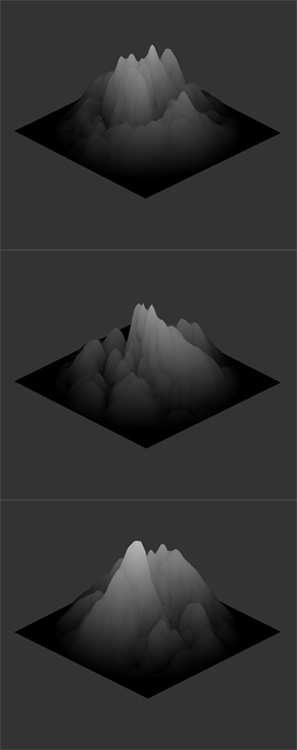
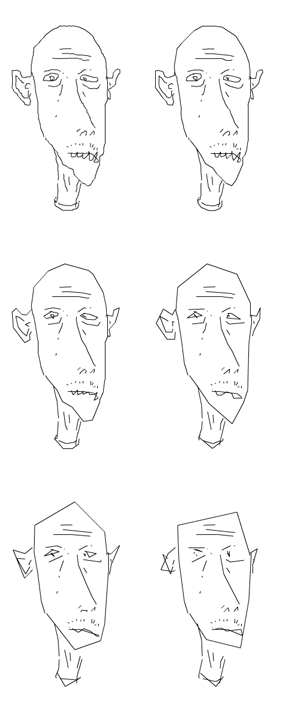
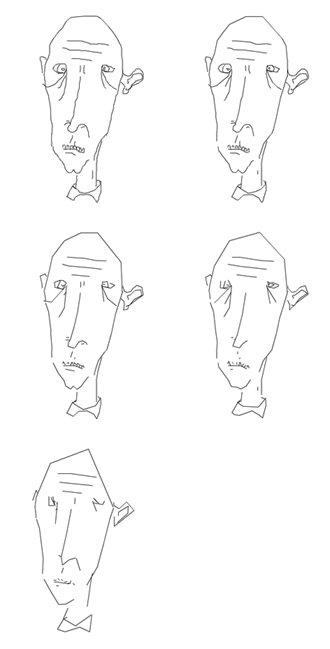
stage.frameRate = 30;
stage.quality = StageQuality.LOW;

var canvas:BitmapData = new BitmapData(400,400,false, 0x000000);
addChild(new Bitmap(canvas));
var overlay:BitmapData = new BitmapData(400,400,true, 0x12000000);
var particles:Dictionary = new Dictionary(true);

var blur:Array = [new BlurFilter(8,8,1)];

addEventListener(Event.ENTER_FRAME, onLoop);
function onLoop(evt:Event):void {
	for (var i:int= 0; i<3; i++) createParticle();
	canvas.copyPixels(overlay, canvas.rect, new Point(0,0), null, null, true);
}

function createParticle():void{
	var s:MovieClip = new MovieClip();
	var diameter:Number = Math.random()*50 + 2;
	var radius:Number = diameter / 2;
	var mat:Matrix = new Matrix();
    mat.createGradientBox(diameter, diameter, 0, -radius, -radius);
	mat.createGradientBox(diameter, diameter, 0, -radius, -radius);
    s.graphics.beginGradientFill(GradientType.RADIAL, [ 0xFFCC32, 0xFF0000], [0.5,0.8], [0, 255], mat, SpreadMethod.PAD);
	s.graphics.drawCircle(0,0,radius);
	s.velX = 0;
	s.velY =  -Math.random()*6 + 3;
	s.posX = s.x = 150+ Math.random() * 100;
	s.posY = s.y = 200;
	s.theta= Math.random() * Math.PI * 2;
	s.inc = Math.random() * 0.4 + 0.01;
	s.rad = Math.random() * 4 + 1;
	s.filters = blur;
	// since the particles aren't on the display list, we need to keep a reference to them
	particles[s] = s;
	s.addEventListener(Event.ENTER_FRAME, onRunParticle);
}
function onRunParticle(evt:Event):void {
	var s:MovieClip = MovieClip(evt.currentTarget);
	s.posX += s.velX;
	s.posY += s.velY;
	s.velX = s.rad * Math.cos(s.theta);
	s.theta += s.inc;
	s.scaleX = s.scaleY -=  .03;
	if (s.scaleX < 0){
		particles[s] = null;
		s.removeEventListener(Event.ENTER_FRAME, onRunParticle);
	}
	s.x = s.posX;
	s.y = s.posY;
	canvas.draw(s, s.transform.matrix, null, BlendMode.ADD);
}
This is a slight variation on a simple particle system that I show in my intermediate class. It is almost the same as this example. But it makes use of filters and BitmapData.
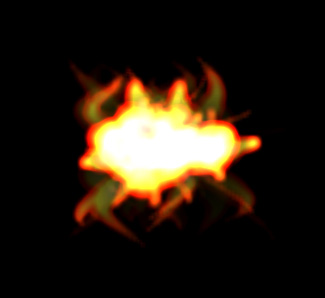
Here is a still generated with this snippet. You’ll notice it vaguely resembles fire.
If you need more particles, there are other approaches that are more appropriate.
[SWF(width = 700, height = 700)]

var loader:Loader = new Loader();
loader.load(new URLRequest("https://actionsnippet.com/wp-content/chair.jpg"));
loader.contentLoaderInfo.addEventListener(Event.COMPLETE, onLoaded);
var tex:BitmapData;
function onLoaded(evt:Event):void{
	tex = Bitmap(loader.content).bitmapData;
	addEventListener(Event.ENTER_FRAME, onLoop);
}

var plane:Shape = Shape(addChild(new Shape()));
plane.x = plane.y = 50;

var verts:Vector.<Number> = new Vector.<Number>();
var uvs:Vector.<Number> = new Vector.<Number>();
var indices:Vector.<int> = new Vector.<int>();
var rows:int = 30;
var size:Number = rows + 1;
var vertNum:Number = size * size;
var polySize:Number = 20;
var vIndex:int = 0;
var uvIndex:int = 0;
var gridSize:Number = rows * polySize;
for (var i:Number = 0; i<vertNum; i++){
	var xp:Number = i % size * polySize;
	var yp:Number =  int(i / size) * polySize;
	verts[vIndex++] = xp
	verts[vIndex++] = yp;
	uvs[uvIndex++] = xp / gridSize;
	uvs[uvIndex++] = yp / gridSize;
	if (i % size != rows){
		  indices.push(i, i+1, i+size, i+size, i+size+1, i+1);
	}
}

// render and show that the verts can be changed around
function onLoop(evt:Event):void {
	// shake the verts
	for (var i:int = 0; i<verts.length; i++){
		verts[i] += Math.random() - 0.5;
	}
	with(plane.graphics){
		clear();
		beginBitmapFill(tex,null, false, true);
		drawTriangles(verts, indices,uvs);
	}
}
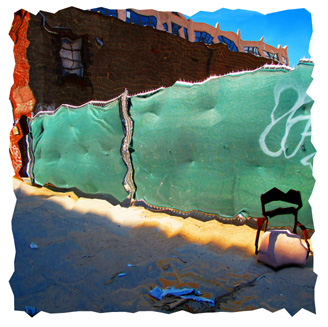
This snippet is shows how to draw a textured 2D plane using drawTriangles(). This is similar to the wireframe 2D plane post from yesterday… the main difference is that you need to calculate UV coordinates if you want to use a bitmap fill with drawTriangles().
var plane:Shape = Shape(addChild(new Shape()));
plane.x = plane.y = 50;

var verts:Vector.<Number> = new Vector.<Number>();
var indices:Vector.<int> = new Vector.<int>();
var rows:int = 20;
var size:Number = rows + 1;
var vertNum:Number = size * size;
var polySize:Number = 20;
var vIndex:int = 0;
for (var i:Number = 0; i<vertNum; i++){
	verts[vIndex++] = i % size * polySize;
	verts[vIndex++] = int(i / size) * polySize;
	if (i % size != rows){
		  indices.push(i, i+1, i+size, i+size, i+size+1, i+1);
	}
}

// render and show that the verts can be changed around
addEventListener(Event.ENTER_FRAME, onLoop);
function onLoop(evt:Event):void {
	// shake the verts
	for (var i:int = 0; i<verts.length; i++){
		verts[i] += Math.random() - 0.5;
	}
	with(plane.graphics){
		clear();
		lineStyle(0,0);
		drawTriangles(verts, indices);
	}
}
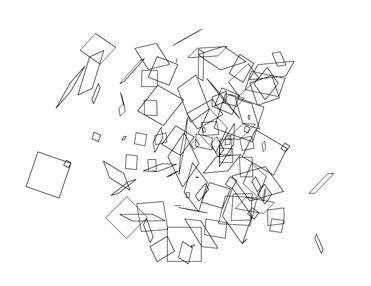
This snippet shows a simple way to draw a 2D wireframe plane using drawTriangles(). To demonstrate the flexibility of the plane… the vertices are randomly shaken on enterframe.
var loc:Vector.<Point> = new Vector.<Point>();
var lifts:Vector.<int> = new Vector.<int>();
var index:int = 0;
var resolution:int = 1;
var down:Boolean;
stage.addEventListener(MouseEvent.MOUSE_DOWN, onDown);
stage.addEventListener(MouseEvent.MOUSE_UP, onUp);
stage.addEventListener(KeyboardEvent.KEY_DOWN, onKeyReleased);
addEventListener(Event.ENTER_FRAME, onLoop);
function onKeyReleased(evt:KeyboardEvent):void{
	if (evt.keyCode == Keyboard.RIGHT){
		resolution -= 1;
		if (resolution < 1) resolution = 1;
	}else
	if (evt.keyCode == Keyboard.LEFT){
		resolution += 1;
	}
}
function onDown(evt:MouseEvent):void{
	down = true;
	lifts.push(index);
}
function onUp(evt:MouseEvent):void{
	down = false;
}
function onLoop(evt:Event):void {
	if (down){
		loc[index] = new Point(mouseX, mouseY);
		index++;
	}
	graphics.clear();
	graphics.lineStyle(0,0x000000);
	var j:int = 0;
	var lift:int;
	var liftLength:int = lifts.length;
	var lastLoc:int =  loc.length  - 1;
	for (var i:int = 0; i<liftLength; i++){
		j =  lifts[i];
		graphics.moveTo(loc[j].x, loc[j].y);
		if (i < liftLength - 1){
			lift = lifts[i + 1] - 1;
		}else{
			lift = lastLoc;
		}
		while (j < lift){
			j++;
			if (j % resolution == 1 || resolution == 1){
			  graphics.lineTo(loc[j].x, loc[j].y);
			}
		}
		graphics.lineTo(loc[j].x, loc[j].y);
	}
}
This snippet shows a simple approach to creating variable resolution graphics.
This is an improved version of yesterdays post. In yesterdays example the end points of the lines would sometimes be removed… this version doesn’t have that problem…
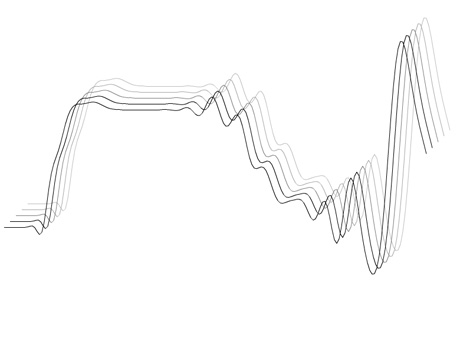
Below is a drawing created using this snippet. The left arrow key is used to decrease resolution and the right arrow key is used to increase resolution:
var loc:Vector.<Point> = new Vector.<Point>();
var lifts:Vector.<int> = new Vector.<int>();
var index:int = 0;
var resolution:int = 1;
var down:Boolean;
stage.addEventListener(MouseEvent.MOUSE_DOWN, onDown);
stage.addEventListener(MouseEvent.MOUSE_UP, onUp);
stage.addEventListener(KeyboardEvent.KEY_UP, onKeyReleased);
addEventListener(Event.ENTER_FRAME, onLoop);
function onKeyReleased(evt:KeyboardEvent):void{
	if (evt.keyCode == Keyboard.RIGHT){
		resolution -= 1;
		if (resolution < 1) resolution = 1;
	}else
	if (evt.keyCode == Keyboard.LEFT){
		resolution += 1;
	}
}
function onDown(evt:MouseEvent):void{
	down = true;
	lifts.push(index);
}
function onUp(evt:MouseEvent):void{
	down = false;
}
function onLoop(evt:Event):void {
	if (down){
		loc[index] = new Point(mouseX, mouseY);
		index++;
	}
	graphics.clear();
	graphics.lineStyle(0,0x000000);
	var liftIndex:int = 0;
	for (var i:int = 0; i<loc.length; i++){
		if (liftIndex == lifts.length) liftIndex = 0;
		if (i == lifts[liftIndex]){
			graphics.moveTo(loc[i].x, loc[i].y);
		    liftIndex++;
		}else{
			if (i % resolution == 1 || resolution == 1){
				graphics.lineTo(loc[i].x, loc[i].y);
			}
		}
	}
}
This snippet shows a simple approach to creating variable resolution graphics.
Below is a drawing done using this snippet. The left arrow key is used to decrease resolution and the right arrow key is used to increase resolution:
var canvas:BitmapData = new BitmapData(stage.stageWidth,stage.stageHeight,false, 0xCCCCCC);
addChild(new Bitmap(canvas));
var prevX:Number;
var prevY:Number;
var brush:Shape = new Shape();

stage.addEventListener(MouseEvent.MOUSE_DOWN, onDown);
stage.addEventListener(MouseEvent.MOUSE_UP, onUp);
function onDown(evt:MouseEvent):void{
	prevX = mouseX;
	prevY = mouseY;
	addEventListener(Event.ENTER_FRAME, onLoop);
}

function onUp(evt:MouseEvent):void{
	removeEventListener(Event.ENTER_FRAME, onLoop);
}

function onLoop(evt:Event):void {
      brush.x = mouseX;
	  brush.y = mouseY;
	  with (brush.graphics){
		  clear();
		  lineStyle(3, 0x000000);
		  lineTo(prevX-mouseX, prevY-mouseY);
	  }
	  canvas.draw(brush, brush.transform.matrix);
	  prevX = mouseX;
	  prevY = mouseY;
}
If you write a drawing program with the Graphics class alone, you’ll notice that eventually the flash player will start to slow down. This could take quite some time, but it will eventually happen. Because the Graphics class is entirely vector based, the flash player needs to keep track of every single point that makes up any line in your drawing. If you draw something and then erase it by drawing white vector lines over it, flash still needs to know about that thing that you erased.
The snippet I wrote yesterday reminded me of the technique used in the above snippet. In yesterdays post every line is drawn using the graphics class. As a result, eventually the flash player begins to choke.
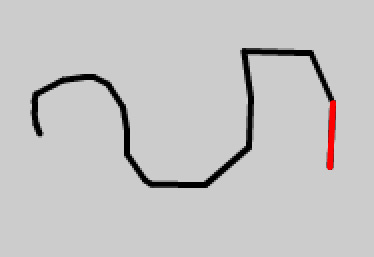
Today’s snippet draws a vector between the previous mouse location and the current mouse location – this vector is then drawn onto a BitmapData object and the vector is cleared. So rather than creating vector graphics that are continuously increasing in complexity, your just changing the color of pixels around on a BitmapData.
To see a visual explanation take a look at the below swf. I slowed it down to 5fps, I tinted the vector red and scaled up the stage so you can differentiate between what’s vector and what’s bitmap:
var canvas:Shape = Shape(addChild(new Shape()));
var gestures:Array=[];
var gestureNum:int = 0;
var capGesture:Array;
stage.addEventListener(MouseEvent.MOUSE_DOWN, onDown);
stage.addEventListener(MouseEvent.MOUSE_UP, onUp);
function onDown(evt:MouseEvent):void{
	 capGesture=[];
	 addEventListener(Event.ENTER_FRAME, onCapture);

	 canvas.graphics.lineStyle(3, 0xFF0000);
	 canvas.x = mouseX;
	 canvas.y = mouseY;
	 canvas.graphics.moveTo(0, 0);
}
function onUp(evt:MouseEvent):void{
	gestures.push(capGesture.concat());
	gestureNum++;
	 canvas.graphics.clear();
	removeEventListener(Event.ENTER_FRAME, onCapture);
}
function onCapture(evt:Event):void{
	capGesture.push(new Point(canvas.mouseX, canvas.mouseY));
	canvas.graphics.lineTo(canvas.mouseX, canvas.mouseY);
}

var currGesture:Array;
var drawing:Boolean = false;
var lineThickness:Number = 0;
var lineColor:Number = 0x000000;
var index:int = 0;
var pnt:Point;
var trans:Matrix = new Matrix();
var i:int
addEventListener(Event.ENTER_FRAME, onLoop);
function onLoop(evt:Event):void{
	if (gestureNum > 0){
		if (!drawing){
		  currGesture = gestures[int(Math.random() * gestureNum)].concat();
		  trans.identity();
		  trans.rotate(Math.random()*6.28);
		  var scale:Number = Math.random() * 2 + .1;
		  trans.scale(scale, scale);
		  trans.tx = Math.random() * stage.stageWidth
		  trans.ty = Math.random() * stage.stageHeight
		  for (i = 0; i<currGesture.length; i++){
			 currGesture[i] = trans.transformPoint(currGesture[i]);
		  }
		  lineThickness = Math.random() * Math.random() * 50;
		  if (int(Math.random()*10) ==1){
			 var col:uint = uint(Math.random()*255);
		     lineColor = col << 16 | col << 8 | col;
		  }
		  index = 0;
		  drawing = true;
		  graphics.lineStyle(lineThickness, lineColor);
		}else{
		   for (i = 0; i<10; i++){
			    if (drawing == true){
				   pnt = currGesture[index];
				   if (index == 0){
					  graphics.moveTo(pnt.x, pnt.y);
				   }else{
					  graphics.lineTo(pnt.x, pnt.y);
				   }
				   index++;
				   if (index == currGesture.length){
					   drawing = false;
				   }
		  	   }
		   }
		}
	}
}
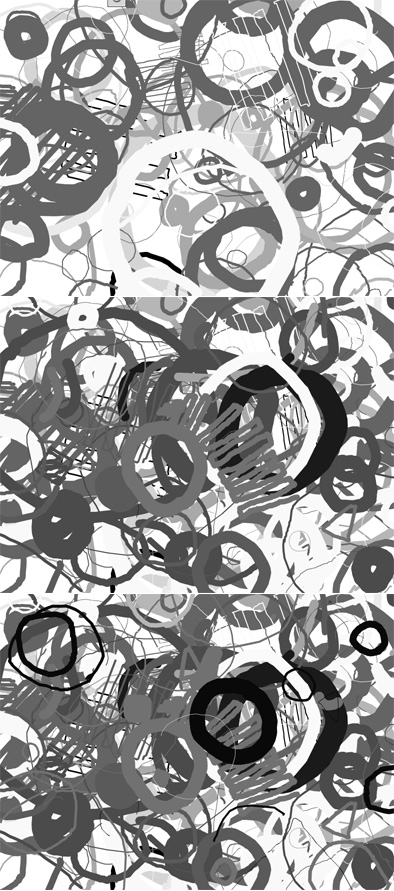
This snippet is an idea I have been meaning to try for sometime. It’s a mini-drawing program. You can draw single gestures (shapes, letters etc…) and the program then randomly scales, rotates, tints and translates these gestures repeatedly on the canvas. You can continue to draw as it does this, the more gestures you draw, the more the program will have to randomly choose from.