Browse the notebook

Category: pixel manipulation

Transparent copyPixels()

var canvas:BitmapData=new BitmapData(400,400,true,0x000000);
var eraser:BitmapData=new BitmapData(400,400,true,0x00000000);
addChild(new Bitmap(canvas));
var redOval:Shape = new Shape();
with(redOval.graphics) lineStyle(0,0), beginFill(0xFF0000), drawEllipse(0,0,10,50);

// draw a background to emphasize transparency 
createBackground();

addEventListener(Event.ENTER_FRAME, onLoop);

function onLoop(evt:Event):void {
	// clear canvas so that it is completely transparent
	canvas.copyPixels(eraser, eraser.rect, new Point(0,0), eraser);
	redOval.x = mouseX;
	redOval.y = mouseY;
	redOval.rotation += 10
	// transform.matrix contains all transformation information for
	// the redOval including scaleX, scaleY, x, y, rotation etc...
	canvas.draw(redOval, redOval.transform.matrix);
}

function createBackground():void {
	for (var i:int = 0; i<100; i++){
		with(graphics) lineStyle(0,0x000000), lineTo(Math.random()*400, Math.random()*400);
	}
}

This example builds on yesterdays snippet. Instead of just allowing the red oval to be continuously drawn to the canvas BitmapData… in this example the canvas BitmapData is erased again and again before the red oval is drawn to it. To erase it with a flat color you might use BitmapData.fillRect() but if you want to erase it so that it is completely transparent you need to use BitmapData.copyPixels():

canvas.copyPixels(eraser, eraser.rect, new Point(0,0), eraser);

The eraser BitmapData is a completely transparent BitmapData object. The key here is the fourth argument…. “alphaBitmapData”.This is what causes the canvas BitmapData to become completely transparent again at the beginning of each enterFrame.

This argument is separate from the first argument (sourceBitmapData) for added flexibility.
Read snippet: Transparent copyPixels()

BitmapData.setVector()

var canvas:BitmapData=new BitmapData(255,255,false,0x000000);
addChild(new Bitmap(canvas, "auto", true));

var size:int = canvas.width * canvas.height;

var pixels:Vector.<uint> = new Vector.<uint>(size);

for (var i:int  = 0; i<size; i++) {
	var ox:uint= i % canvas.width;
	var oy:uint= i / canvas.width;
	pixels[i] = oy << 16 | ox;
}
	
canvas.setVector(canvas.rect, pixels);

setVector() is used to set a group of pixels. I’ve been wanting this feature for a long time. I’m assuming that it’s at least a little faster than using a bunch of setPixel() calls, but i haven’t tested it. Of course, Pixel Bender will be much faster than this…. as long as your not on a powerPC based mac (or some other older computer) … as you may or may not know Pixel Bender will run very slow on a powerPC mac:

Quote from Tinic Uro – Flash Player Engineer

But… I have more news you might not like. 😉 If you ever run a Pixel Bender filter on PowerPC based Mac you will see that it runs about 10 times slower than on an Intel based Mac. For this release we only had time to implement a JIT code engine for Intel based CPUs. On a PowerPC Mac Pixel Bender kernels will run in interpreted mode. I leave it up to you to make a judgment of how this will affect you. All I can say: Be careful when deploying content using Pixel Bender filters, know your viewers.

Read the rest of the article here.

Read snippet: BitmapData.setVector()

Hidden Sierpiński

var canvas:BitmapData=new BitmapData(255,255,false,0x000000);
addChild(new Bitmap(canvas, "auto", true));

scaleX = scaleY = 1.5;

addEventListener(Event.ENTER_FRAME, onLoop);
function onLoop(evt:Event):void {
	for (var i:int  = 0; i<canvas.width * canvas.height; i++) {
		var ox:int= i % canvas.width;
		var oy:int= i / canvas.width;
		var col =  (ox | oy) * mouseX % 255;
		canvas.setPixel(ox, oy, col << 16 | col << 8 | col);
	}
}

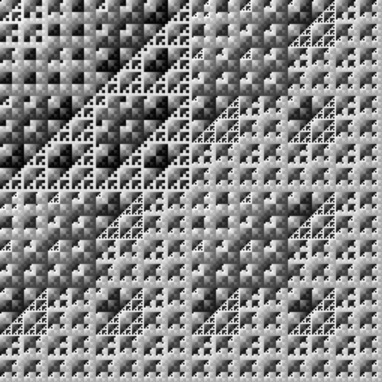
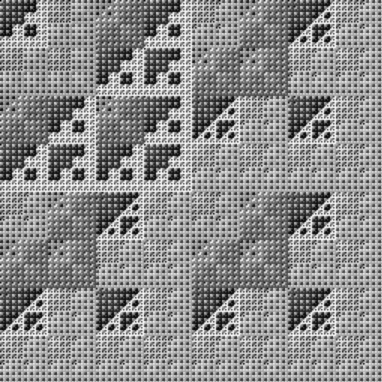
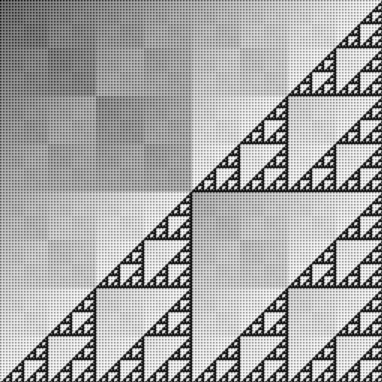
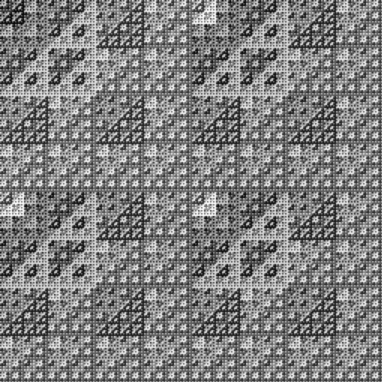
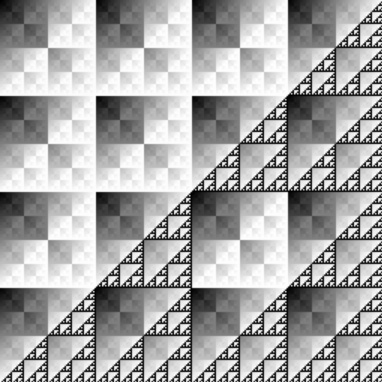
Sometimes when I’m writing a program that does some pixel pushing I’ll save the file and then start arbitrarily adding bitwise operations to it…. just to see what happens. Sierpinski-esque stuff occurs often. This will work in your timeline – move your mouse left and right to generate images like these:


Read snippet: Hidden Sierpiński

Texture cos(atan2())

var col:int, i:int, j:int, s:int = 500, div:Number =20, outcoord:Point = new Point(), points:Vector.<Point> = new Vector.<Point>();
for (i = 0; i<5; i++) points.push(new Point(int(Math.random()*s),int(Math.random()*s)));
var canvas:Bitmap = Bitmap(addChild(new Bitmap(new BitmapData(s,s, false, 0xFF0000), "auto", true)));
for (i  = 0; i<canvas.width * canvas.height; i++){
	outcoord= new Point( i % canvas.width, i / canvas.width);
	col = 0;
	for (j= 0; j<points.length; j++) col += Math.max(0,255 * Math.cos(Math.atan2(outcoord.y - points[j].y, outcoord.x - points[j].x)*outcoord.x/div) );
	col /= points.length;
    canvas.bitmapData.setPixel(outcoord.x, outcoord.y,  col << 16 |  col << 8 |  col);
}

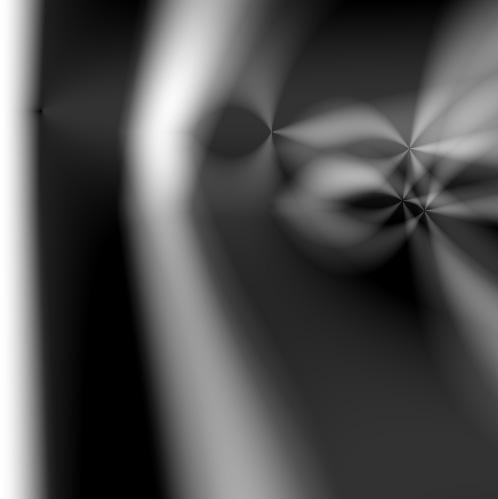
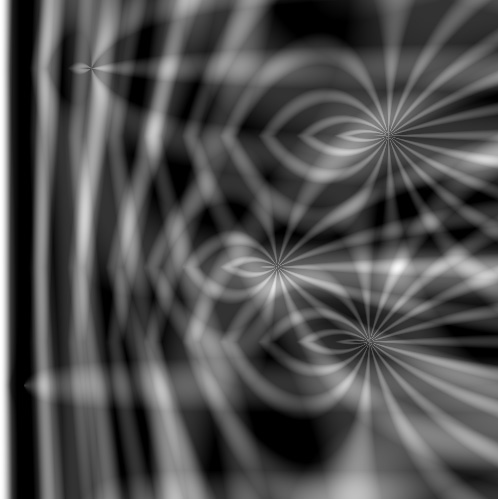
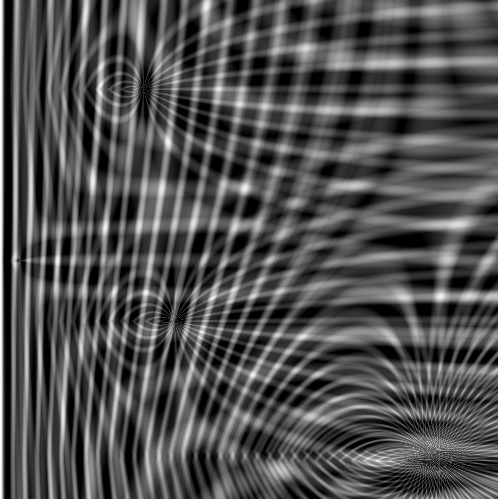
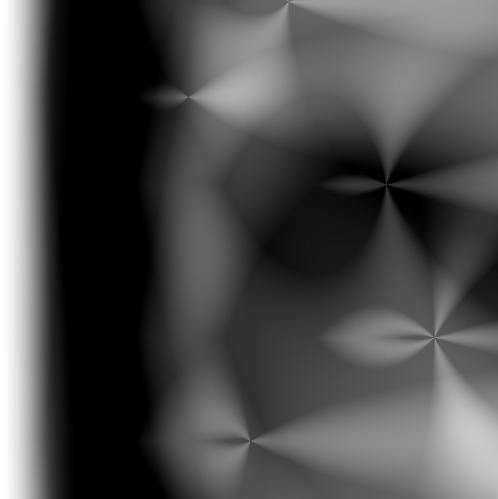
This is inspired by some stuff I’ve been doing with PixelBender. I think I’m going to convert this to processing to see how fast I can get it to run… will post that over at shapevent. People have been asking me to post swfs…. and I plan on starting to that a little bit… but since this one doesn’t animate, here are a few jpgs:

Read snippet: Texture cos(atan2())

perlinNoise()

var canvas:BitmapData = new BitmapData(400,400,false, 0x000000);
addChild(new Bitmap(canvas));

addEventListener(Event.ENTER_FRAME, onLoop);
function onLoop(evt:Event):void {
  canvas.perlinNoise(200,200, 2, 1, true, false,0, true, 
                              [new Point(mouseX, mouseY),
                              new Point(-mouseX, -mouseY)]);
																				    
}

There area few snippets on the way that involve perlin noise. Starting here with something simple. This creates 2 octave perlin noise and moves each octave based on the mouse location.

Perlin noise was invented by Ken Perlin.

Read snippet: perlinNoise()

Alphabet with Base36 and Binary

var canvas:BitmapData=new BitmapData(280,100,false,0xefefef);
addChild(new Bitmap(canvas));

// pixel alphbet in base36
var alphabet:Array=["", "67erkgi", "e3j6dss", "75rue4u", "c5ltok8", "75s2tji", "75s2tjk", "75rugj2", "95yfnf6", "21blls4", "10nt5xo", "973it1u", "85aef4u", "59lu6nl", "cnz0hbn", "67ej51o", "67eq49c", "67ej53e", "67eq7gy", "66978m4", "6ywdqpw", "95y780c", "53b00as", "8nmdpyi", "5374thm", "53avnus", "6xsfdam"];

function drawBase36(num:String, xp:int, yp:int):void {
	// convert base36 to binary
	num=parseInt(num,36).toString(2);
	while (num.length < 35) {
		num="0"+num;
	}
	// draw letter
	for (var i:int= 0; i<35; i++) {
		if (num.charAt(i)=="1") {
			canvas.setPixel(i % 5 + xp, int(i / 5) + yp, 0x000000);
		}
	}
}

// draw the entire alphabet
for (var i:int = 0; i<alphabet.length; i++) {
	drawBase36(alphabet[i], i * 10,10);
}

// draw some words
var words:Array=[0,1,3,20,9,15,14,19,14,9,16,16,5,20,0,9,19,0,3,15,4,5];
for (i = 0; i<words.length; i++) {
	drawBase36(alphabet[words[i]], i * 10,30);
}

I had lots of fun writing this. If you run it in your timeline it will draw this:


… along with the message stored in this array [0,1,3,20,9,15,14,19,14,9,16,16,5,20,0,9,19,0,3,15,4,5].

Binary can be used for representing small images. For every 0 draw white for every 1 draw black. So when the base36 numbers are converted to binary, the 1’s and 0’s are used to draw each letter.

An interesting side note is that counting in binary to some very high numbers will enumerate all possible two color images at a given size. There are tons of projects related to this… here is one I found with a quick google search: every icon

I also found the wikipedia entry on base36 to be interesting. Apparently base36 can be called hexatridecimal, sexatrigesimal, hexatrigesimal or alphadecimal.

Read snippet: Alphabet with Base36 and Binary

Readable Radial Gradient

var size:Number = 400;
var halfSize:Number = size / 2;
var canvas:BitmapData = new BitmapData(size, size,false, 0x000000);
addChild(new Bitmap(canvas, PixelSnapping.AUTO, true));

var rings:Number = 40;
var color:uint, theta:Number, dx:Number, dy:Number;

for (var i:int = 0; i<canvas.width; i++){
	for (var j:int = 0; j<canvas.height; j++){
		// distance from center of canvas to current x, y coord 
		dx = i - halfSize;
		dy = j - halfSize;
		theta = Math.sqrt((dx * dx)+(dy * dy)) * rings;
		color = (100 + 100  * Math.sin(theta * Math.PI/180)) << 16;
		canvas.setPixel(i,  j, color);
	}
}

/*
WARNING: This code was written for fun. Use at your own risk.
*/

This is the previous post written in a readable way. Draws a radial gradient using pythagorean theorem and sine.

Read snippet: Readable Radial Gradient

setPixel() Radial Gradient

 // add a BitmapData object to the stage in one line:
addChild(new Bitmap(new BitmapData(200,200,false,0x00000)));

// draw a radial gradient
for (var i:int = 0; i<200; i++) for (var j:int = 0; j<200; j++) 
Bitmap(getChildAt(0)).bitmapData.setPixel( i, j, 100 + 100 * Math.sin(Math.sqrt(Math.pow(i - 100, 2)+Math.pow(j - 100, 2)) * 40 * Math.PI/180) << 16 );

/*
WARNING: This code was written for fun. Use at your own risk.
*/

Next I’ll post a readable version, just wanted to see how compact I could get this…

This was inspired by all the pixel bender stuff that I’ve seen. I did the same thing with setVector() – will post about setVector() in the future.

Read snippet: setPixel() Radial Gradient